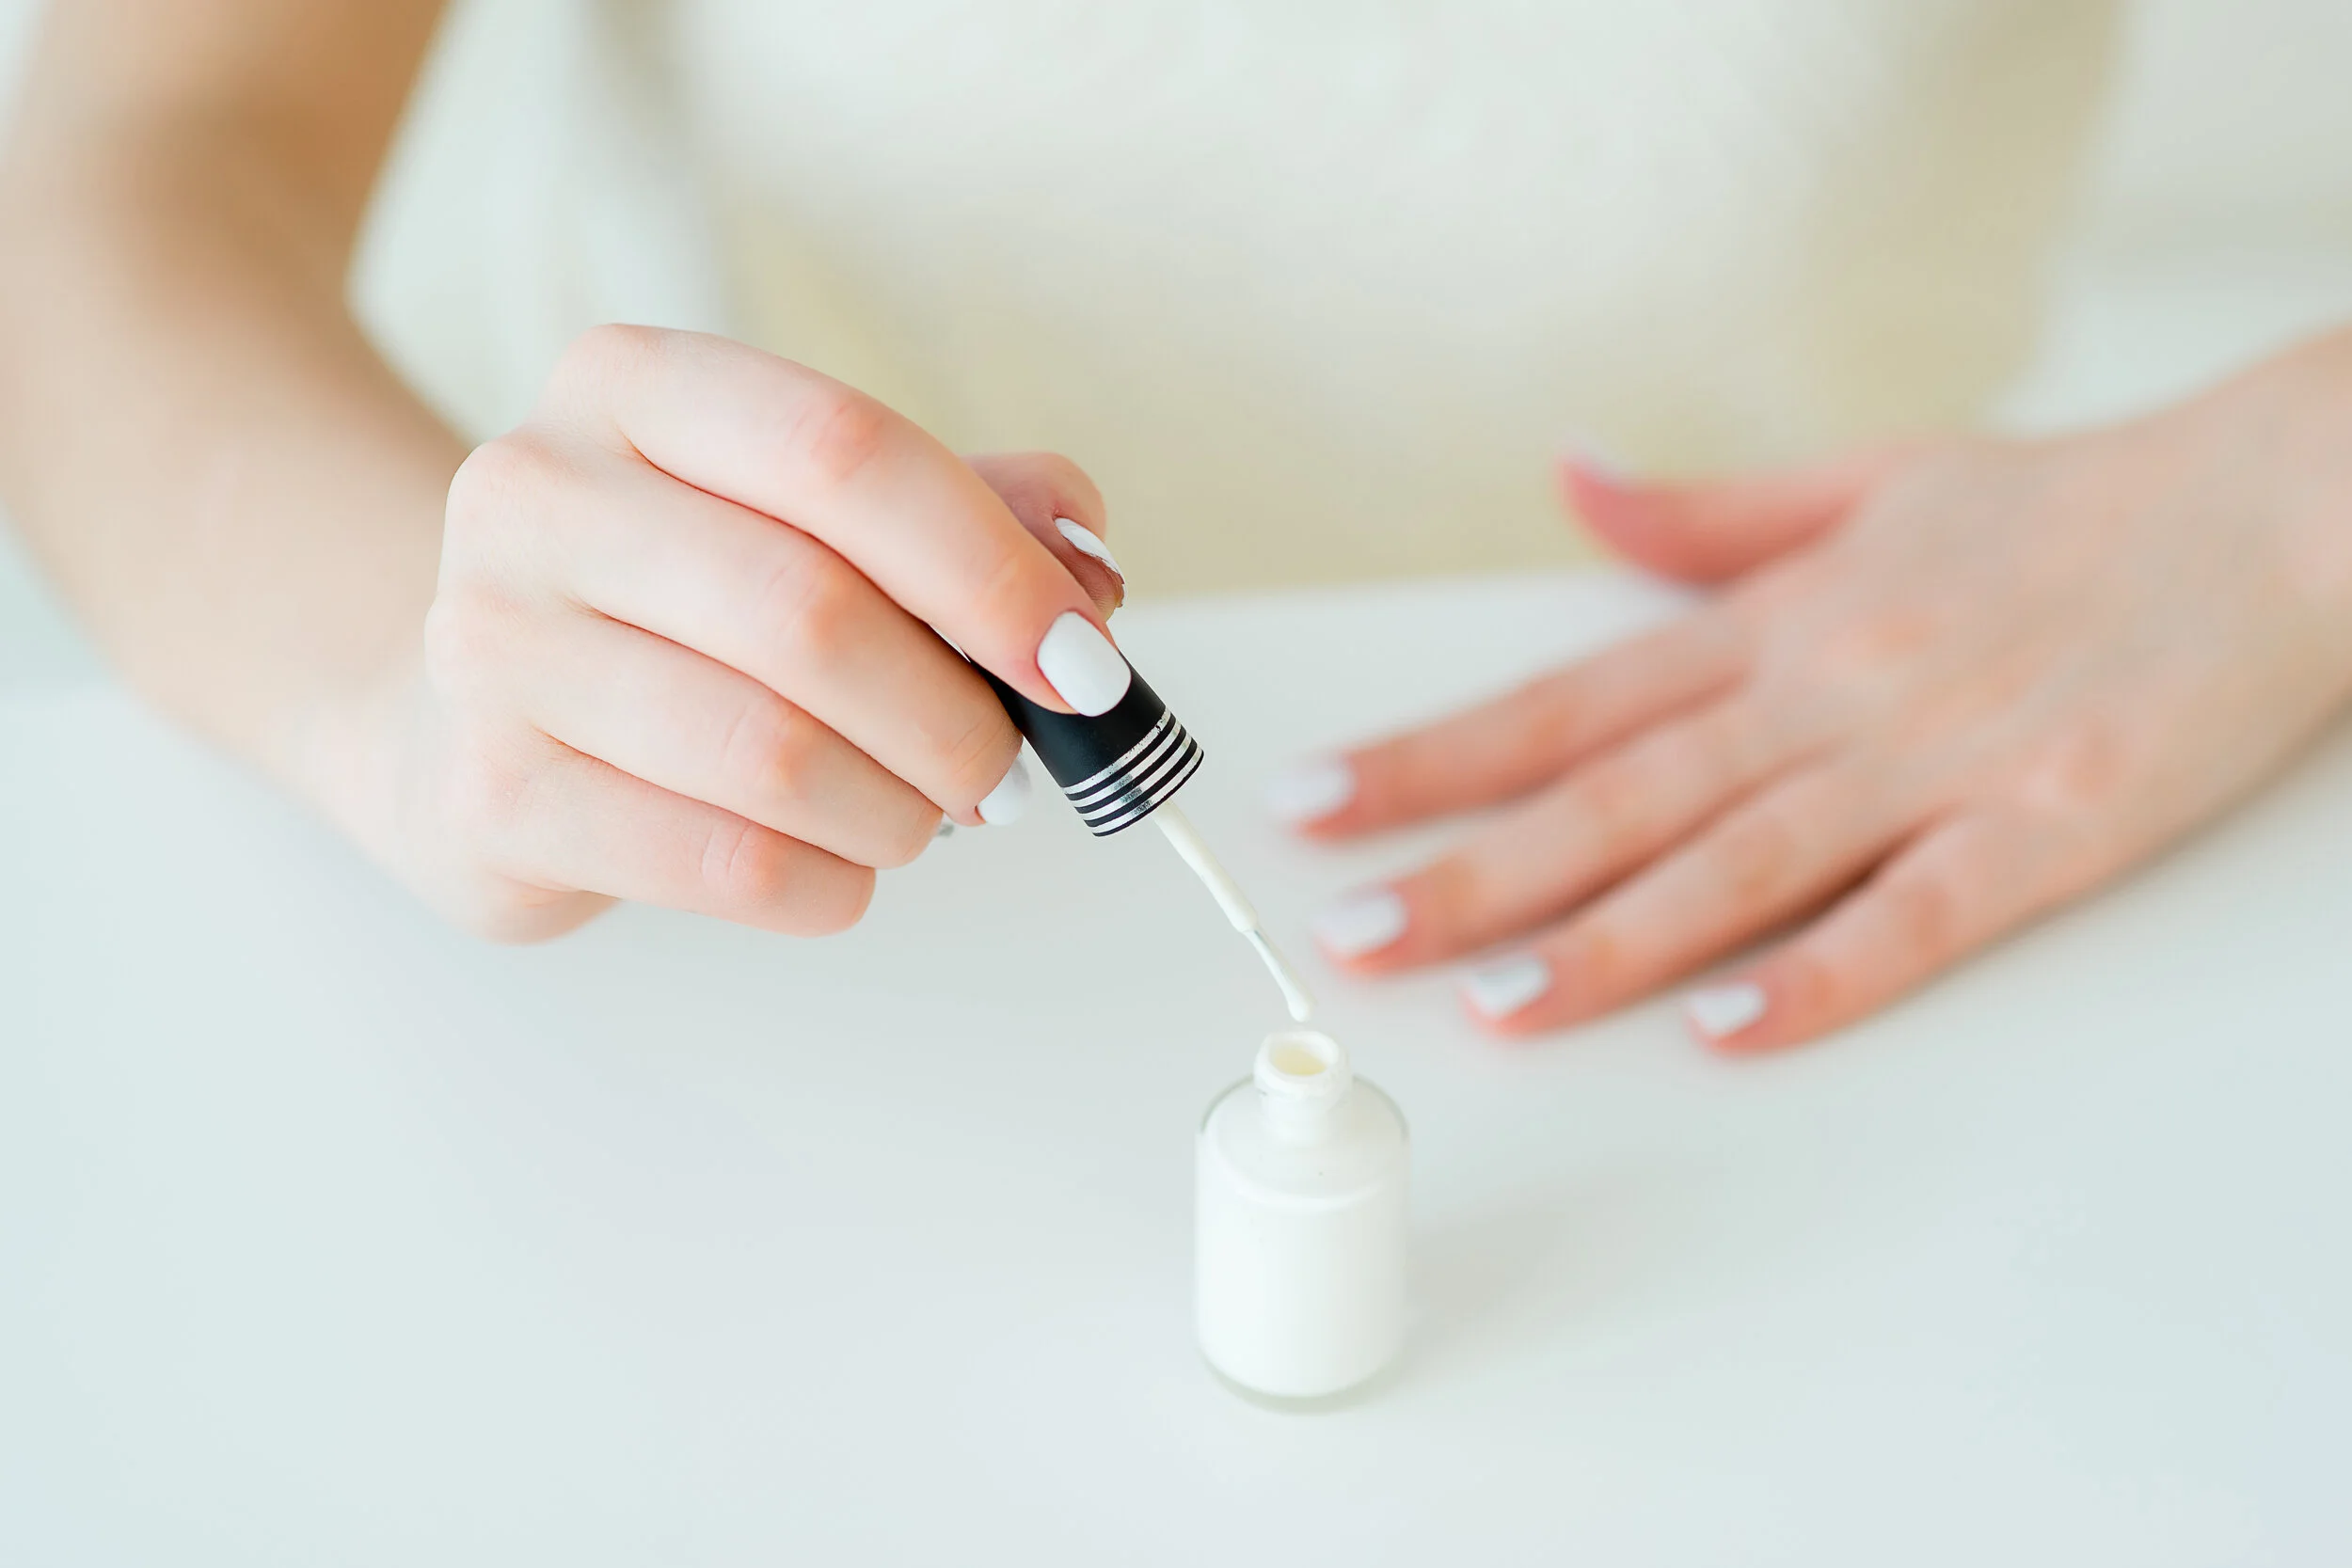
At-home Manicure: How-to’s And What Not’s
At-home Manicure: How-to’s And What Not’s
Learn these Esthetician Approved DIY At-Home Manicure Tips and Tricks
Costly Professional Manicures
Whether you're trying to save money or simply too busy to make an extra stop at the salon, there's a lot to love about an at-home manicure.
Getting a decent manicure at the comfort of our home takes a lot of practice and skill. Even if you’re a DIY pro, at-home manicures never seem to last as long as when the actual pros do it. The simple solution would be to go to the nail salon, but that’s not always time or cost-efficient. Apparently there are a lot of bad tips out there. For example, that trick where you dunk your freshly-painted nails in ice water to quickly dry is false. There is something about a beautiful manicure that just looks and feels elegant, but the cost of salon manicures can really add up over the course of a year! If you want to save time and money on manicures, you’ll need our essential steps for a DIY manicure at home—for a fraction of the cost!
Technique Really Matters
Whether you prefer French tips, a gel finish, or powder dip nails, making time for a professional manicure is an indulgence — and not all of us have the time, money, or patience for a refresh every week. But thanks to Hope & Beauty Chemo Companions, nicely done nails are, well, at your fingertips. Dr. Singhal has selected Terra Cotta nail polish, a non-toxic, vegan, and cruelty-free nail polish.
Formulas are better than ever overall, but when it comes to painting your nails yourself, the wrong techniques and bad habits can lead to polish-stained cuticles, smudges, and chipping.
A salon-standard manicure starts with perfectly shaped nails, Dr. Shyamali Singhal says. "To achieve a great shape and the best finish, always opt for a soft nail file to prevent tearing or splitting your natural nails," she explains. And technique really matters: File in one fluid motion with long, light strokes in one direction. Start from the outside edge and continue in a side-to-center movement. This method will create a smooth finish and give you more control over the shape, too. Whatever you do, do not "see-saw." "Filing back and forth weakens nails, making them prone to splitting," Dr. Singhal says. "Also, avoid metal or coarse nail files — both are too harsh for natural nails and can cause damage."
Clean Nails Are A Good Start Of Every Good Manicure
For nail color that lasts well beyond three days, it pays to eradicate all traces of dirt, oil, and polish residue to give it a clean base to cling to. First, we should give our nails a once-over with a swipe of acetone. Dr. Singhal suggests using a gentle formula, which will do less damage. Karma Natural’s unscented nail polish remover with vitamin E oil is a good example. Then, it’s time to buff. "Buffing is essential for perfectly prepped nails," Dr. Singhal says. Be gentle and sparing, using a soft and smooth four-way block or buffing file. Buffing brightens, smooths, and creates natural shine in addition to removing ridges, giving you a perfectly prepped base to paint on.
Be careful not to over-buff, though. Too much buffing can cause heat buildup and friction, which will damage and weaken your nails. Three to four swipes on each nail is plenty.
Useful Manicure Tips
Select the right shape
Despite all the trendy shapes, like the coffin or the stiletto, it turns out that rounded nails are your best bet to avoid rips and snagging. Due to its smooth shape, it’s less likely to catch on things. If you prefer to wear your nails square, just make sure to round the edges on either side of the nail.
Make sure to buff the edge of your nails
Once you land on the final shape, it’s important to make sure nothing is left hanging on the edge. “When nails are filed quite a bit, it's important to use a nail buffer to get all remaining nail debris out from under the nail and from the sides of the nail along the cuticle line,” says Dr. Singhal. Another tip: Make sure to file in one direction especially with the sides—this ensures you aren’t disturbing the fibers of the nails.
Prep your nails properly before you paint
Most nail salons sit you to soak before pushing the cuticles and filing, but the pros say dry manicures are more sanitary and help your polish last longer. Soaking in water causes the nail to expand. Then when it dries the nail contracts, causing your polish to chip. Instead, cleanse the nails with nail polish remover or alcohol before polishing.
Paint In Just A Few Strokes
Firstly, always apply a clear base coat to your nails before painting to prevent staining, then go in with the color. "Aim to paint in three strokes," Dr. Singhal says. "Starting in the middle of the nail, use the shape of the applicator brush to push towards the cuticle in a clean line." Then repeat on each side until the entire nail is coated.
Try picking a nail polish with a flat, wide brush, which will hug the whole surface of the nail and provide better color payoff in fewer strokes. For brilliant shine, finish with a clear topcoat. "Always 'seal' your polish by running your topcoat along the top edge of your nail after application, too," Dr. Singhal says. This helps to minimize chipping and extends wear-time.


Polybalm natural nail remedy provides relief for chemotherapy induced nail damage.
Now Available to Buy for USA and Canada